A multi-monitor setup can greatly increase your productivity by allowing you to view multiple applications and browser windows simultaneously. Not everyone has the money or space for two monitors, but there’s a smart solution if you happen to have an extra Windows laptop.
If your Windows laptop has a USB-C connection (like a standard USB port, but oval-shaped), then you’ll be able to use it as a second display when you connect it to another laptop or desktop computer. It’s also possible to do this with an HDMI connection, but for this tutorial we’ll focus on the more modern USB-C.
However, the process requires a few extra steps than simply plugging in a USB-C cable. We’ve created this step-by-step guide to show you how to do it, and we’ve even included pictures to make it as easy as possible to follow each step.
So, if you’re looking to turn your old (or current) laptop into a handy secondary display, follow the steps below.
What you will need
- Windows 11 laptop with USB-C connection
- USB-C to USB-C cable
Short version
- Connect USB-C to the first laptop/PC
- Connect USB-C to another laptop
- Press the Windows key on the main laptop/PC
- Type Display
- Click on “Duplicate or extend to linked screen”
- Click the “Duplicate these screens” button.
- Click Expand these views
- Click Save Changes
-
Step
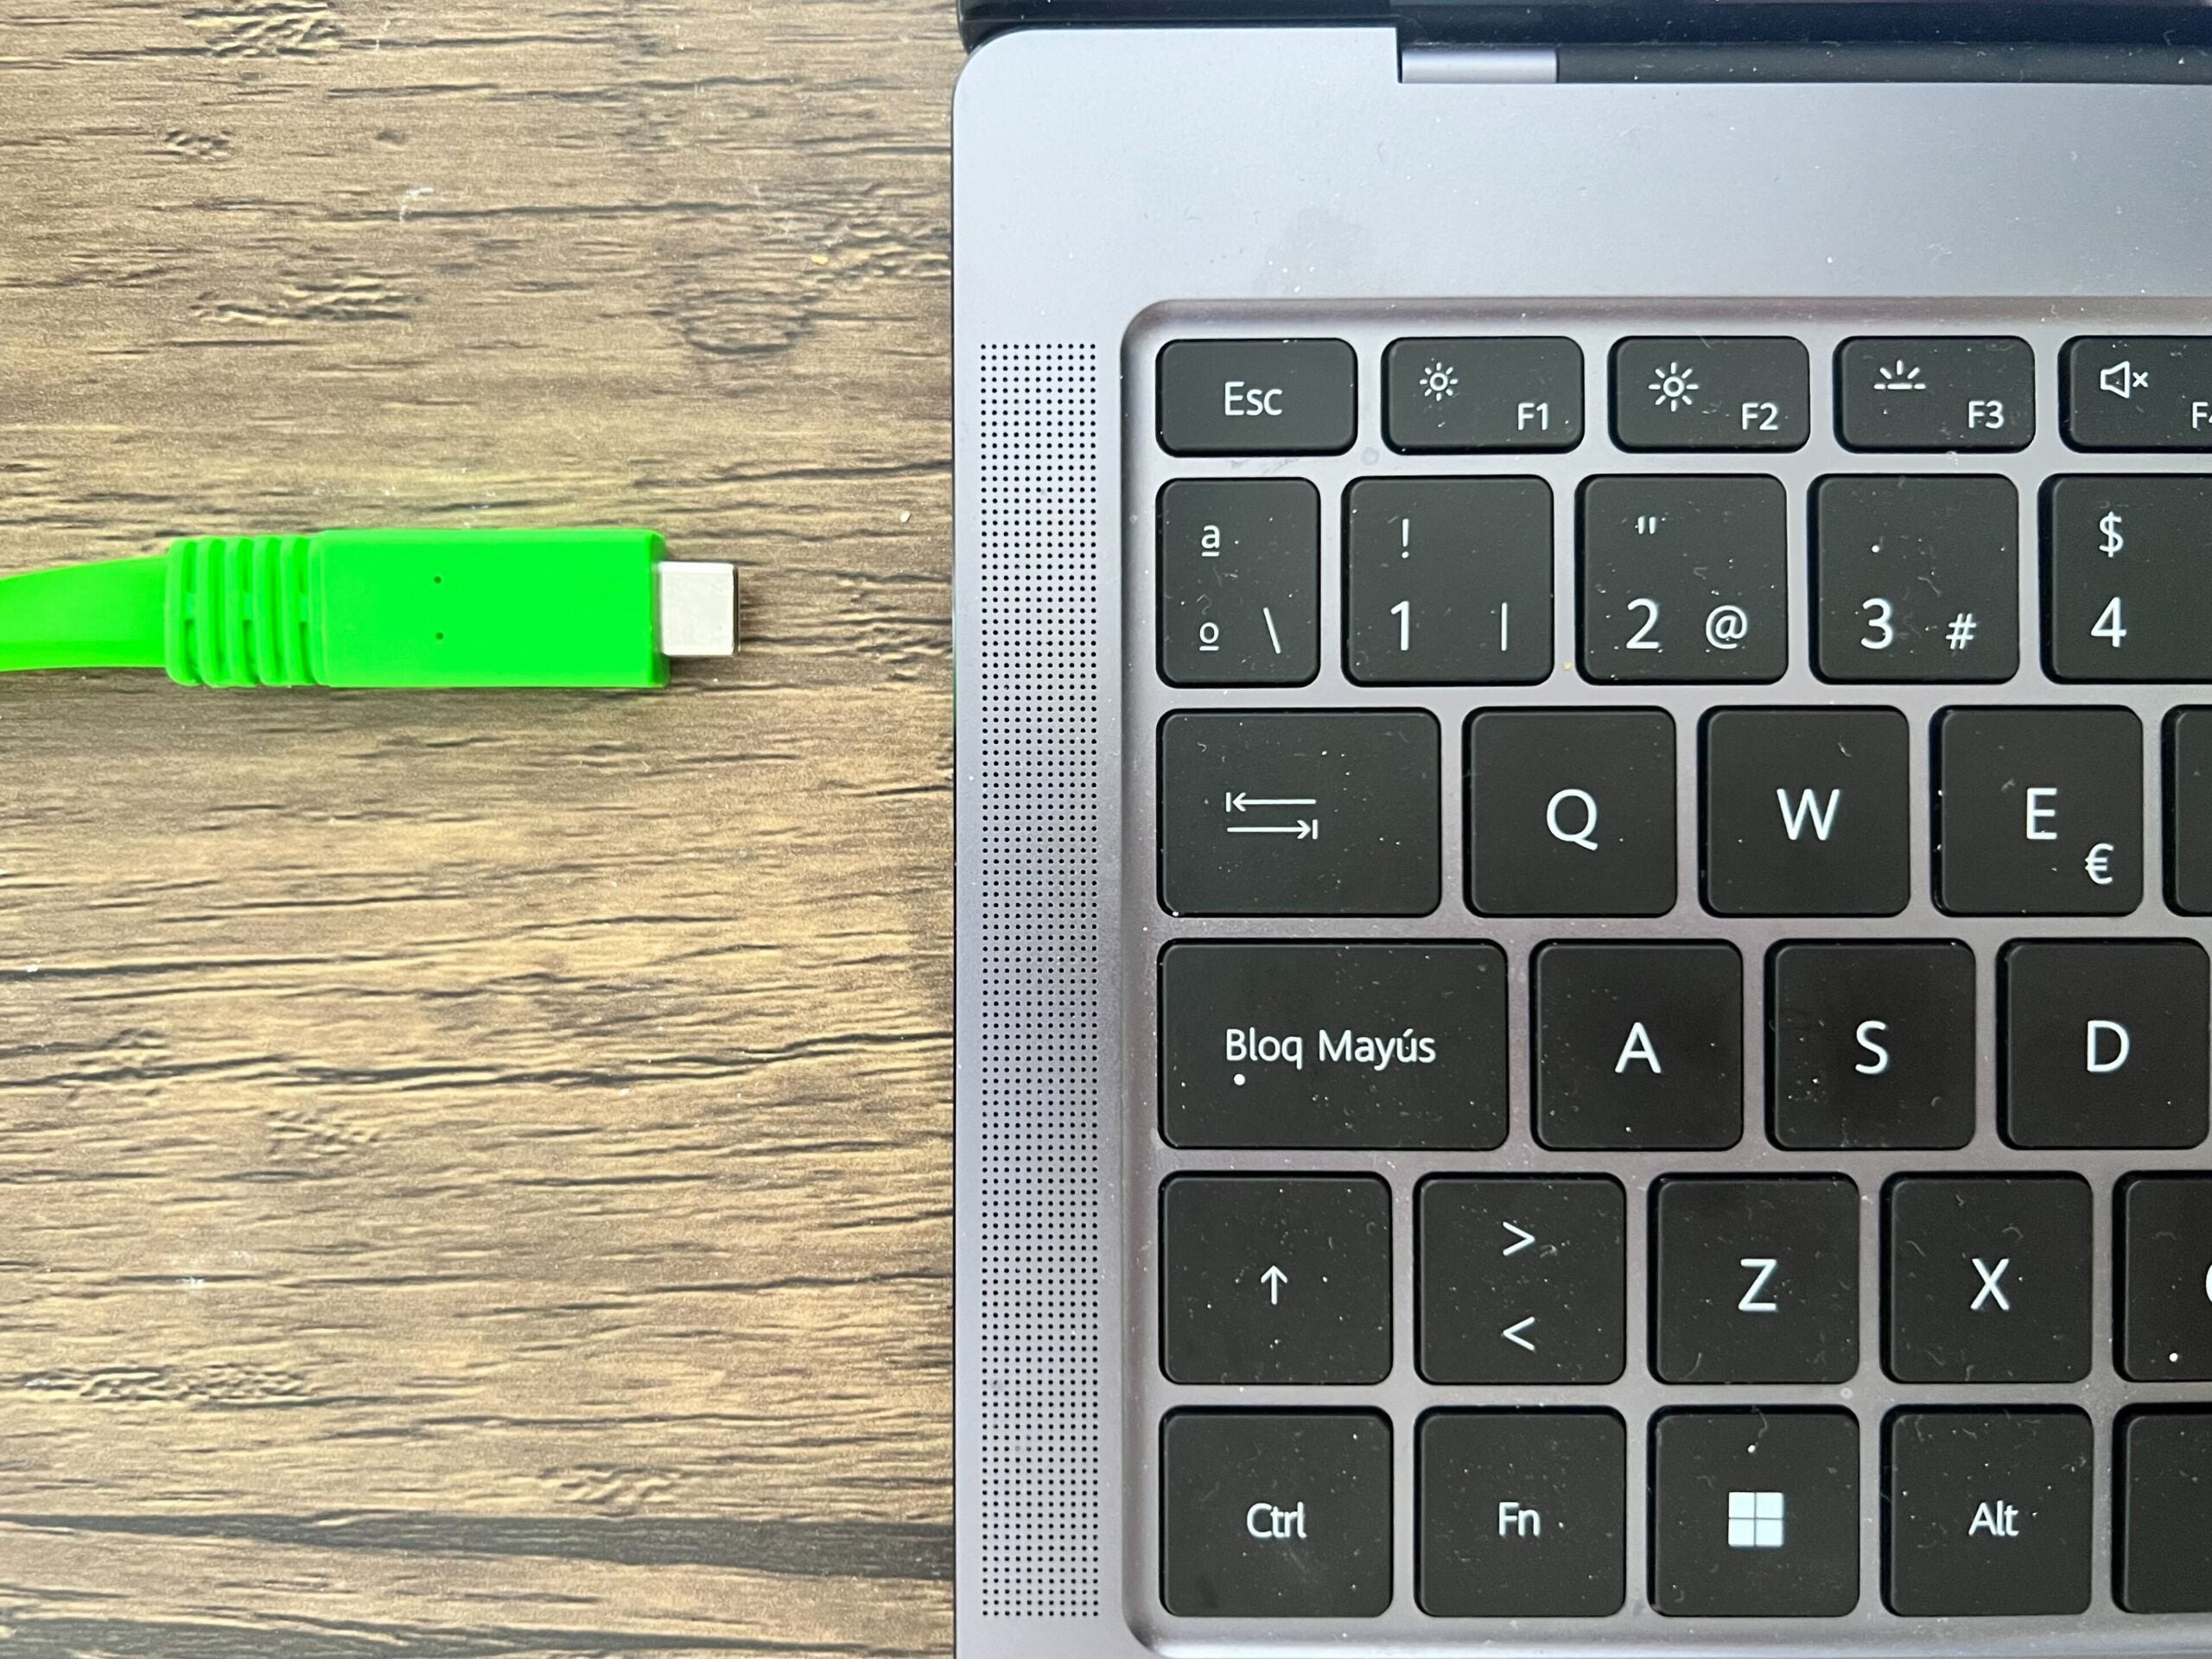
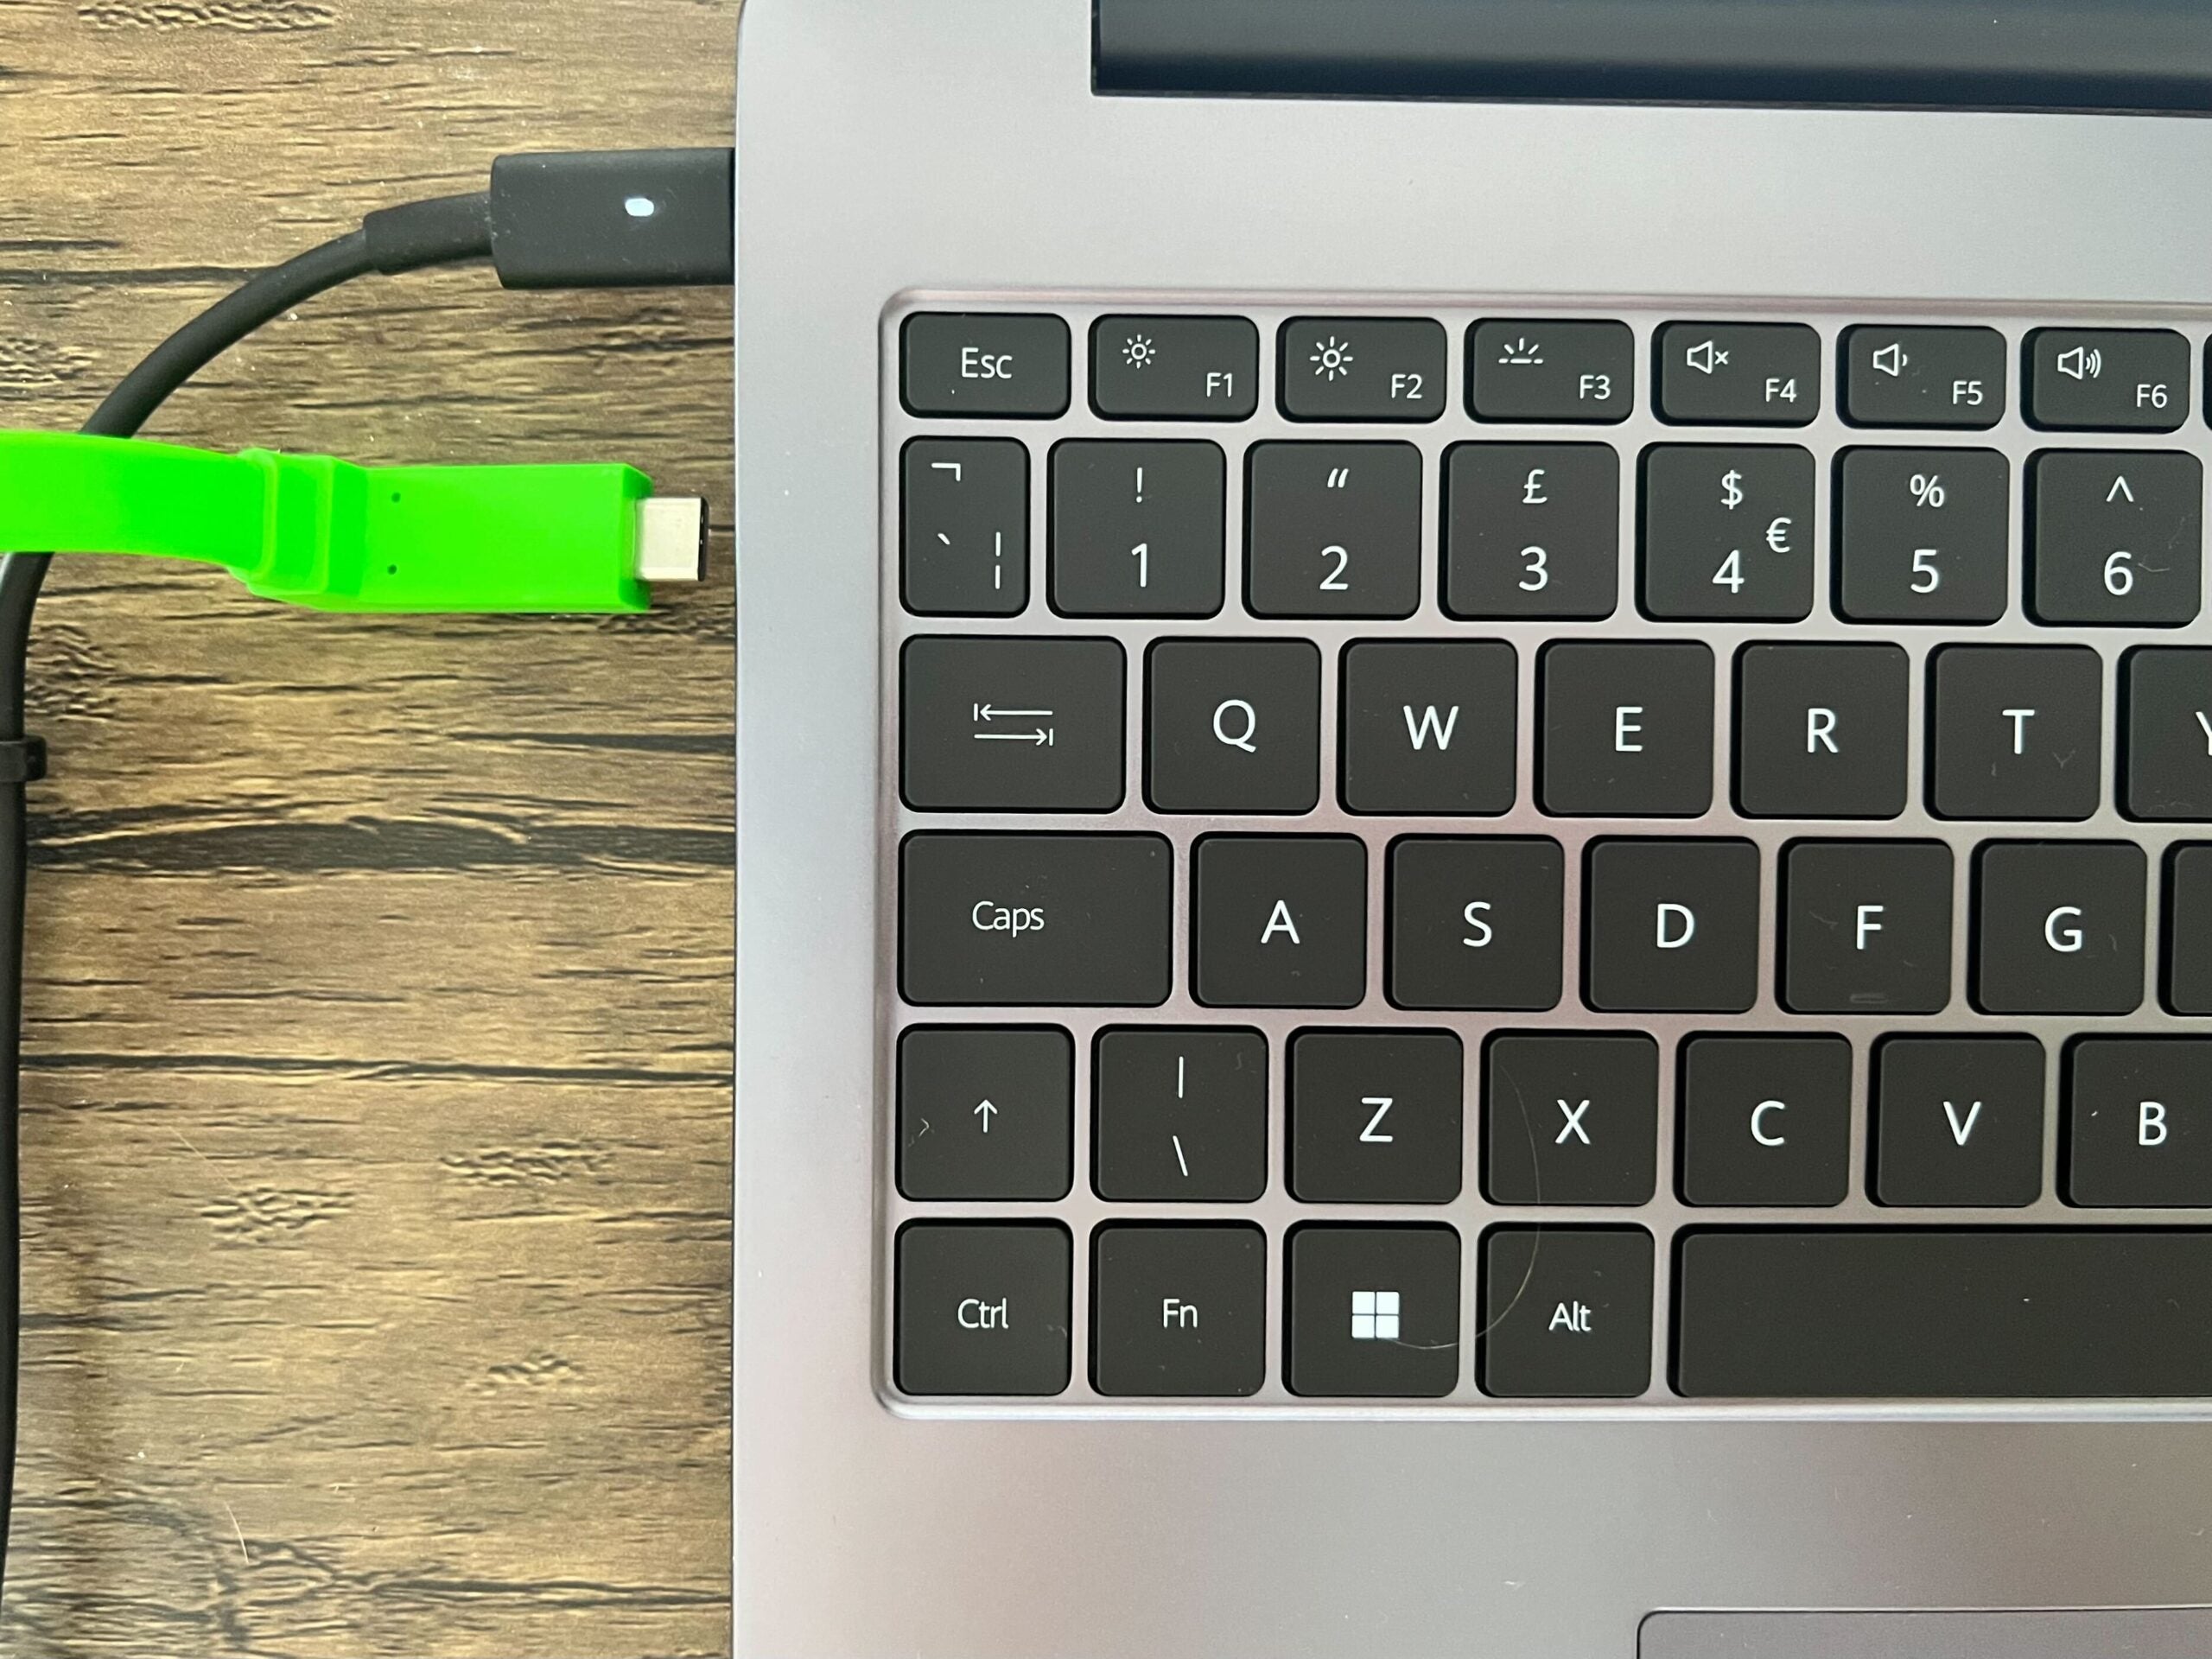
1Connect USB-C to the first laptop
Plug your USB-C cable into the USB-C port on your computer/laptop. It should look like an oval joint on the side of your computer.
If your device does not have a USB-C connector, it is also possible to use HDMI or Bluetooth instead. It actually depends on what device you have.
-
Step
2Connect USB-C to another laptop
After connecting the USB-C cable to the first laptop, connect the other end to the second laptop.
-
Step
3Press the Windows key on the main laptop/PC
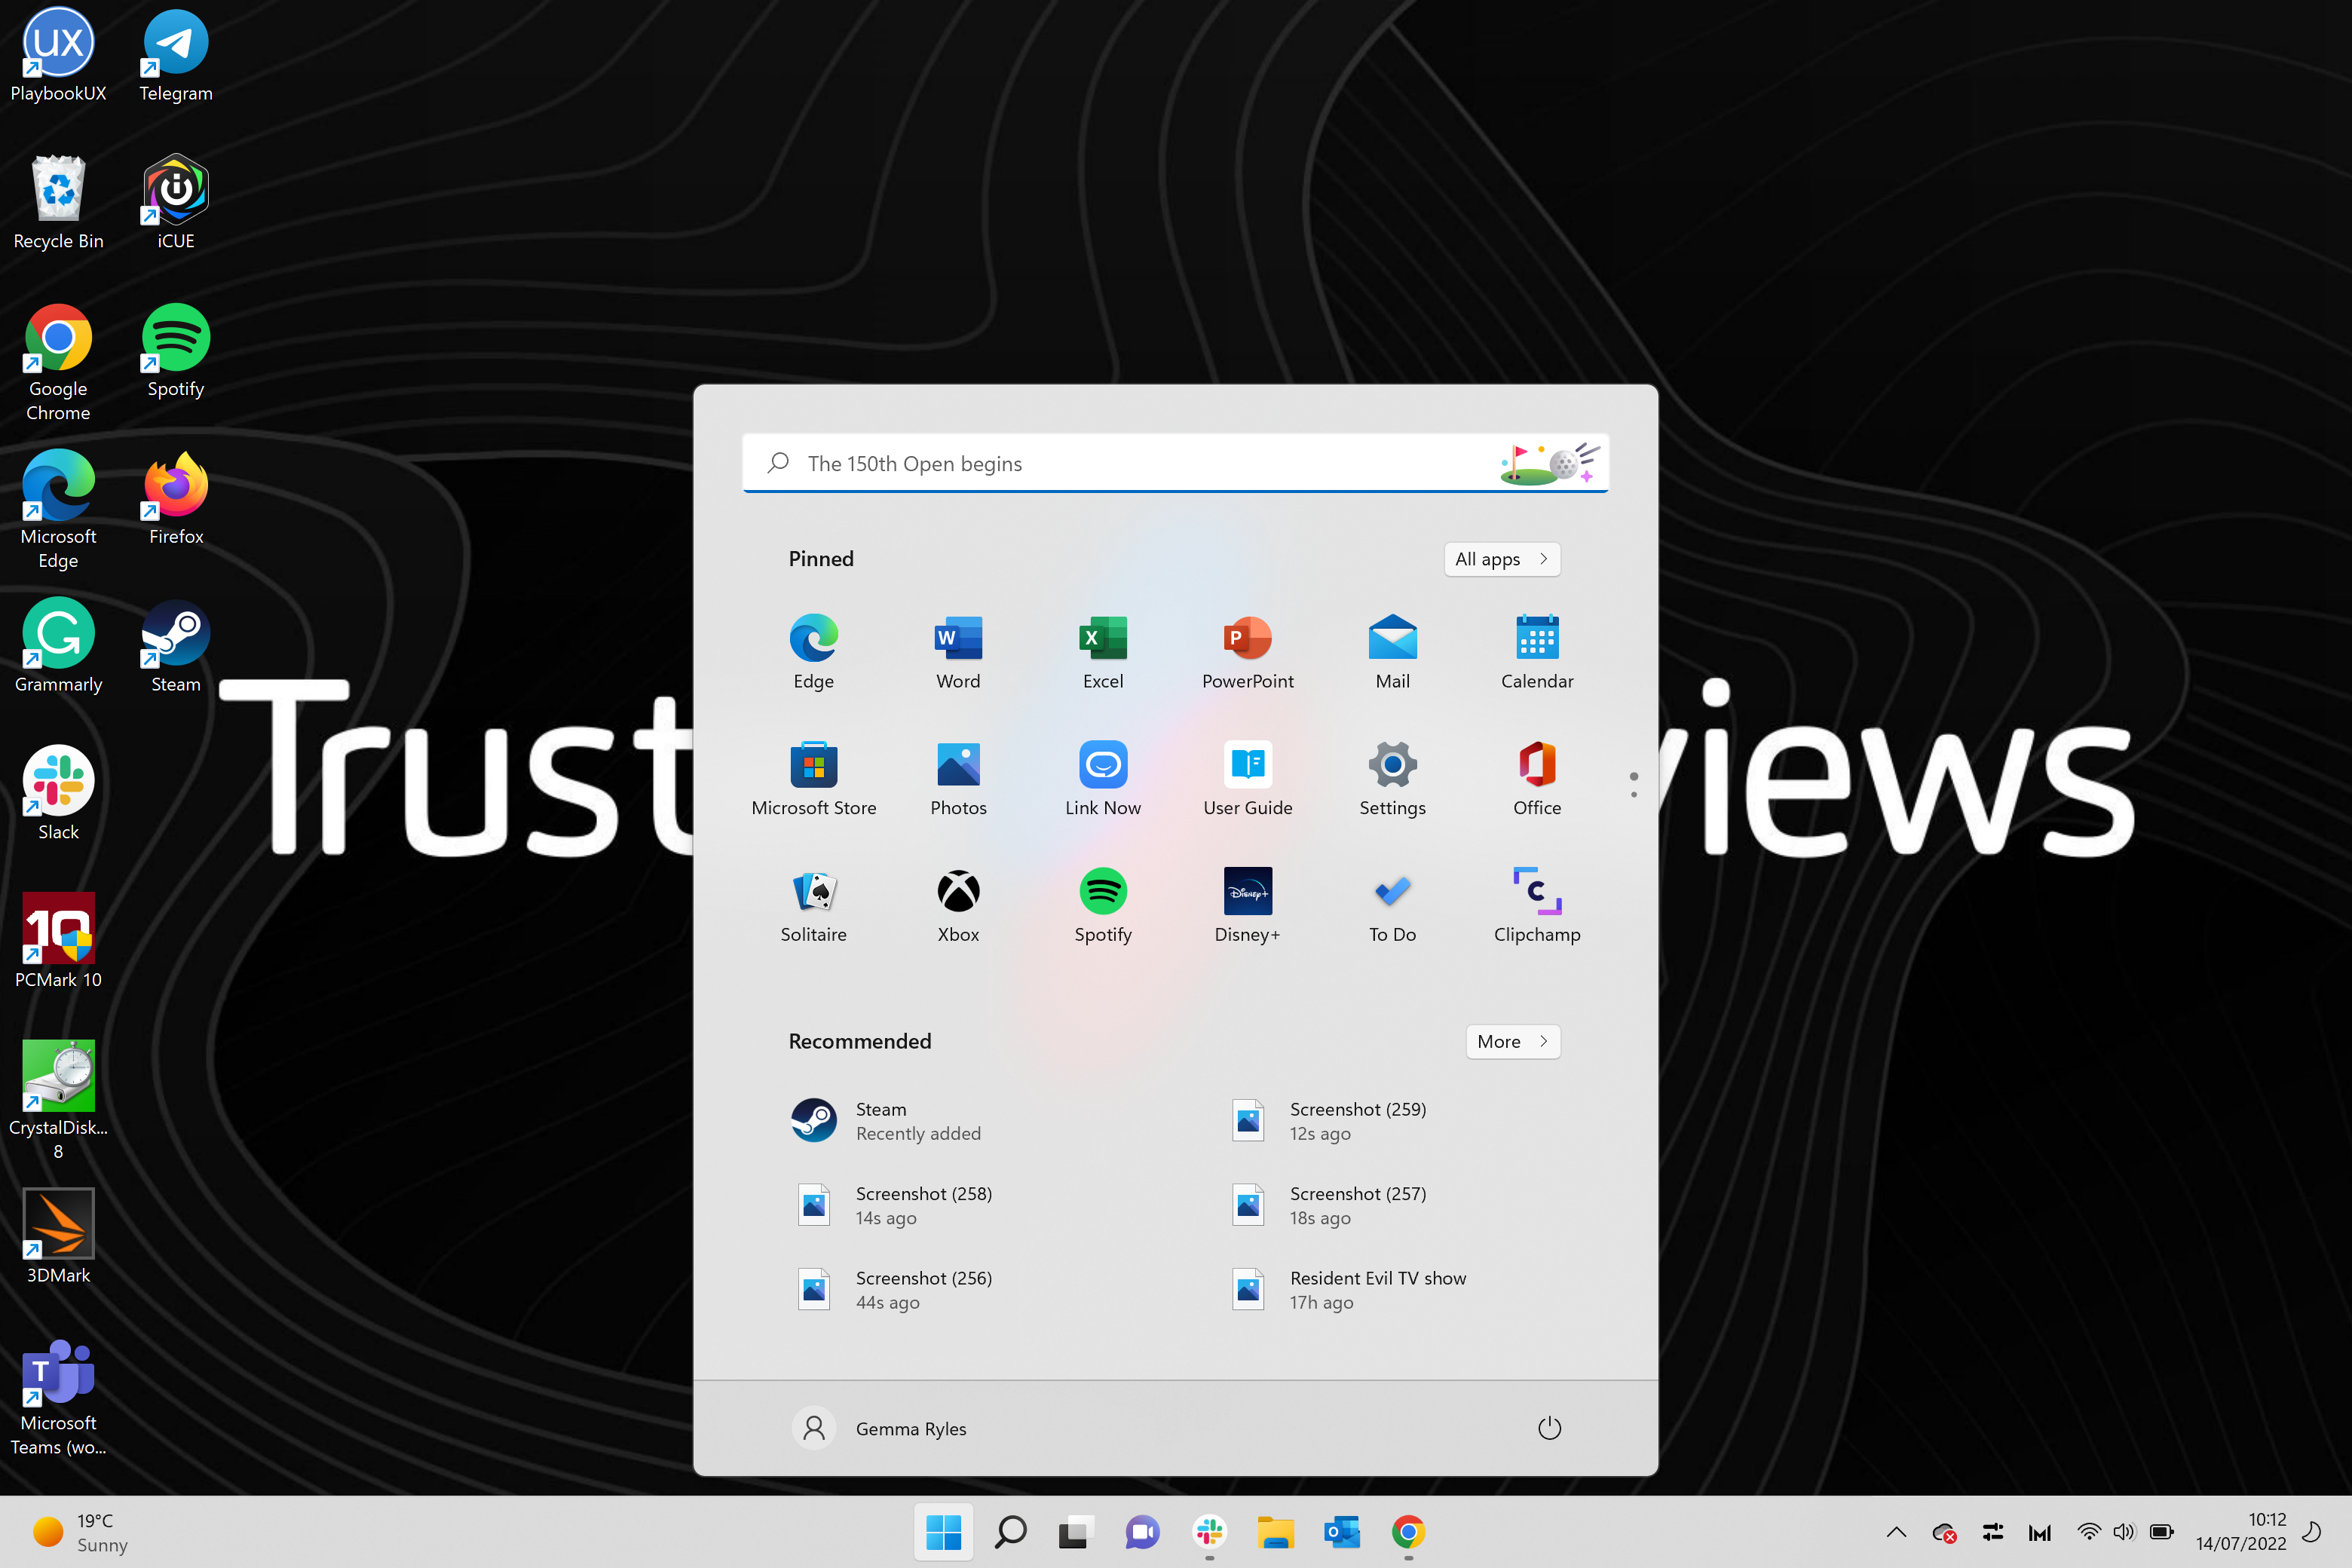
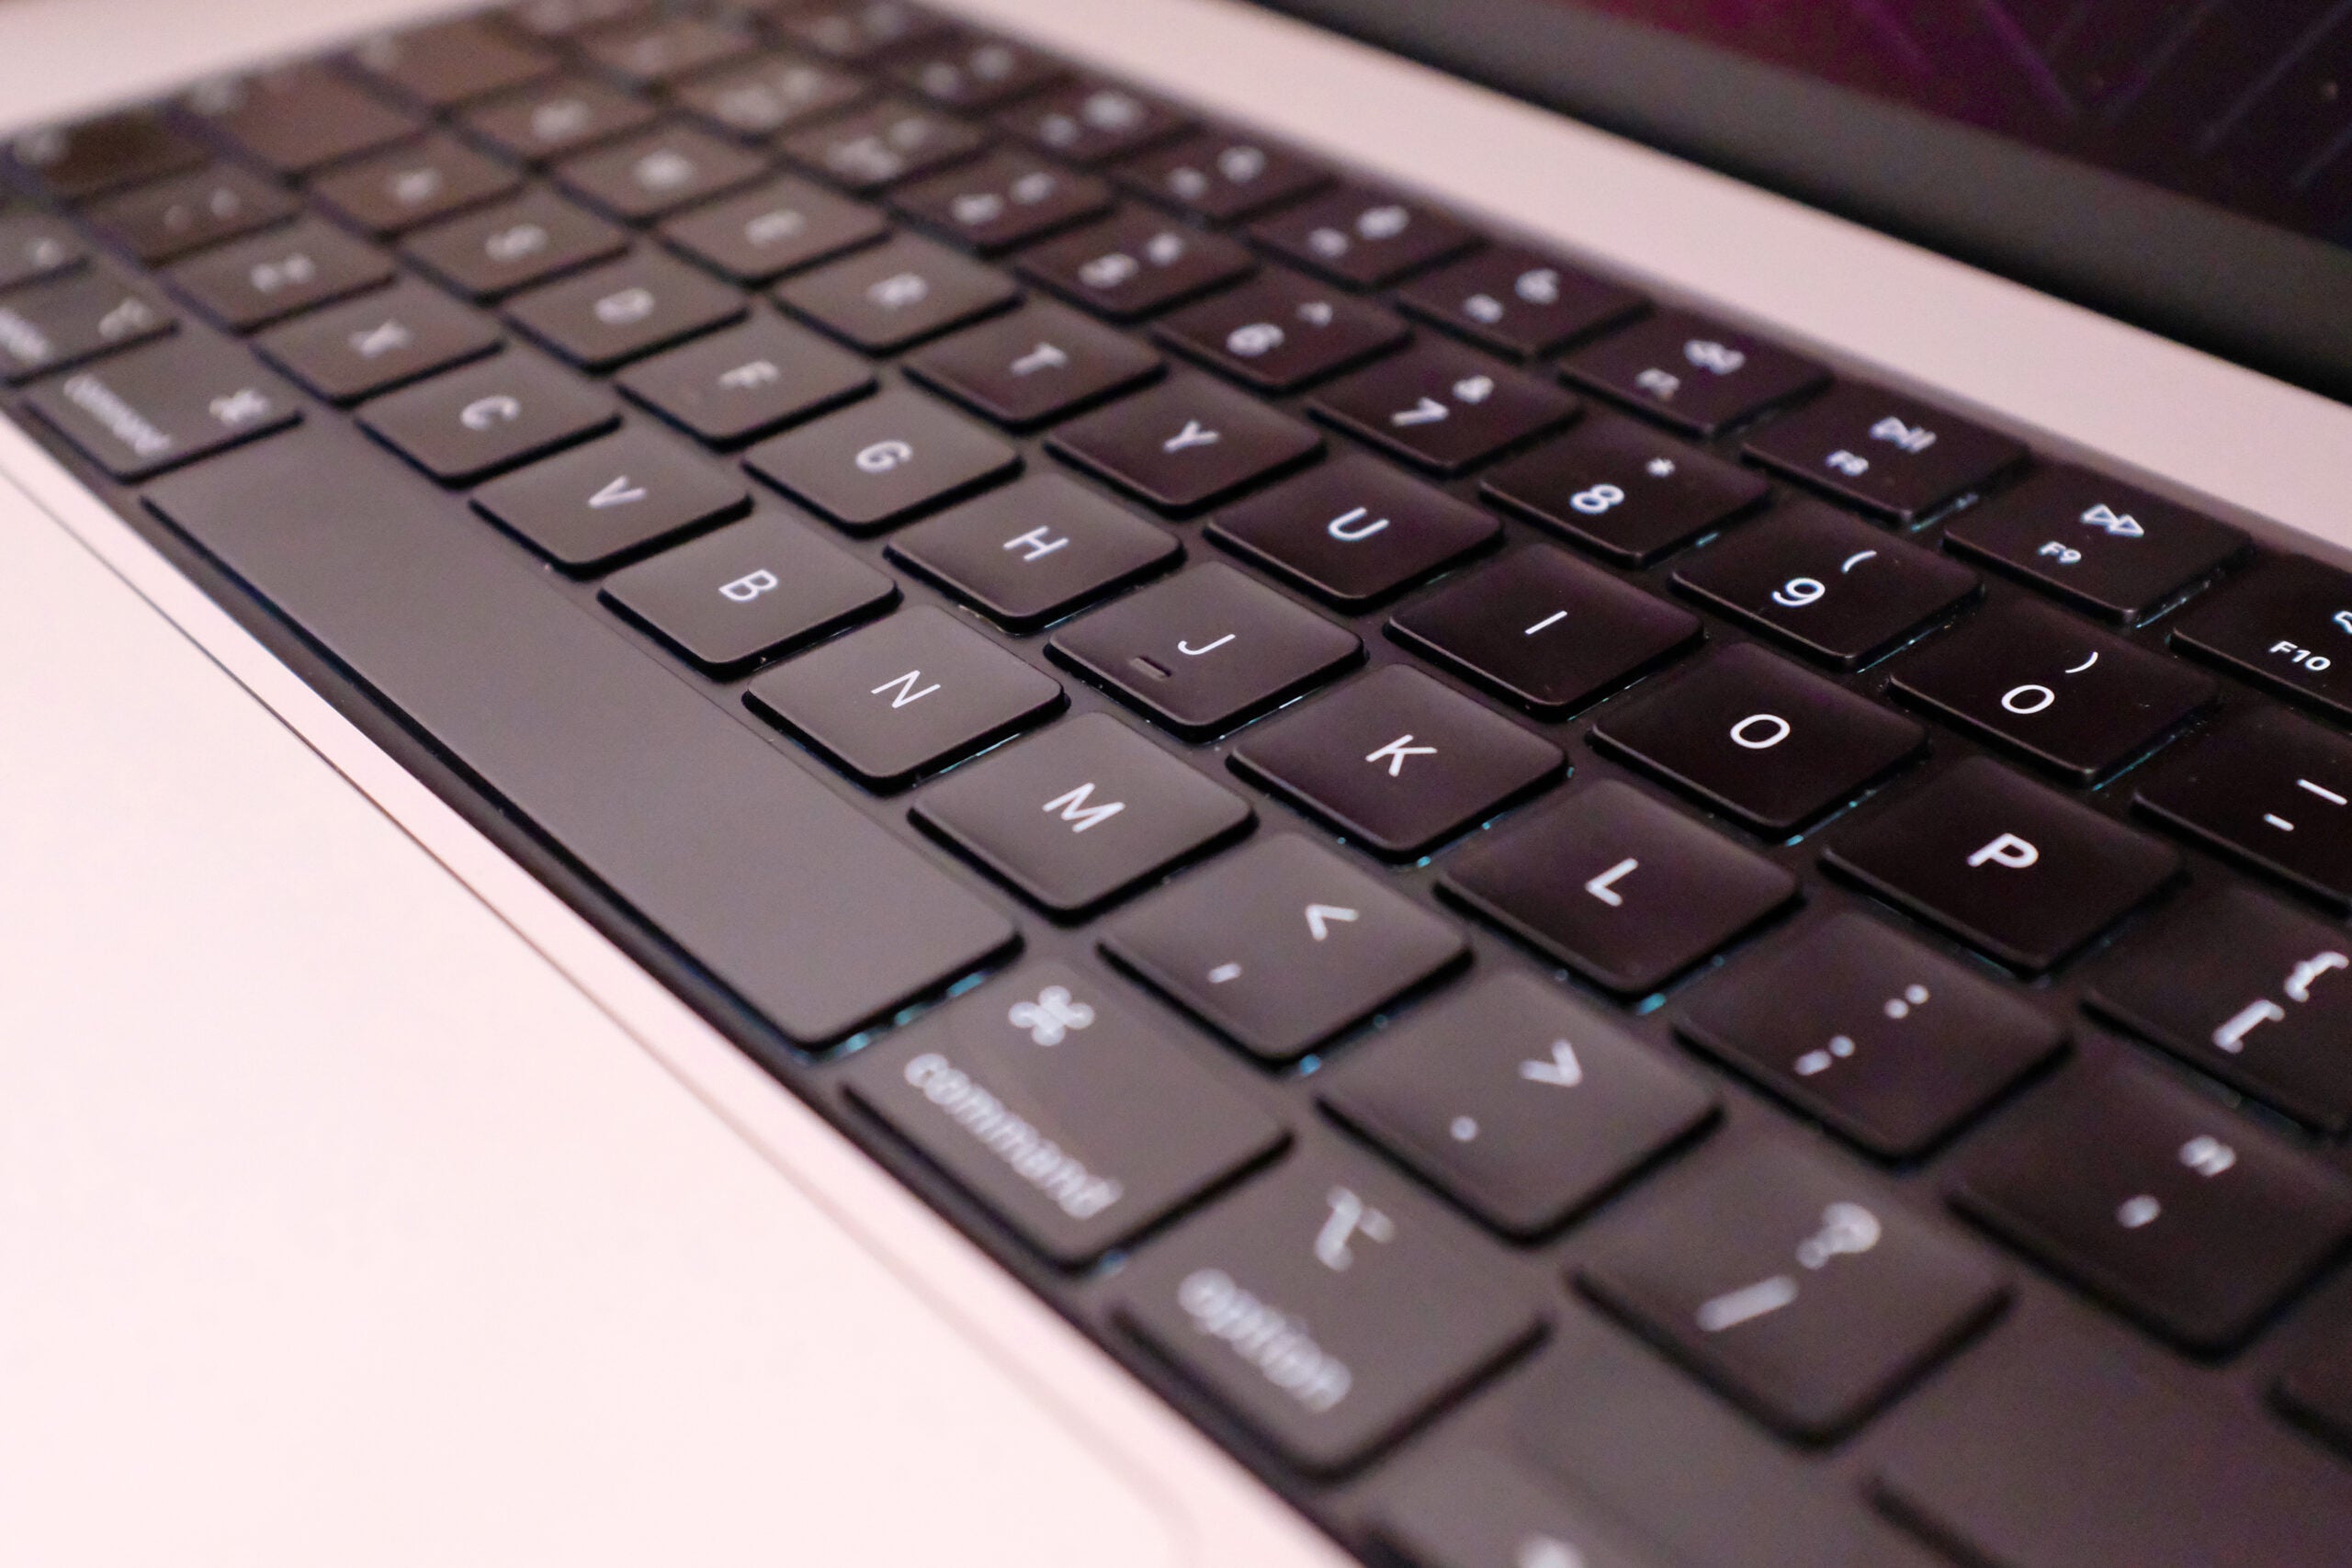
Press the Windows key on the primary laptop/PC keyboard. It should look like a square block divided into quarters. It is usually located on the left side of the space bar on the keyboard.
-
Step
4Type Display
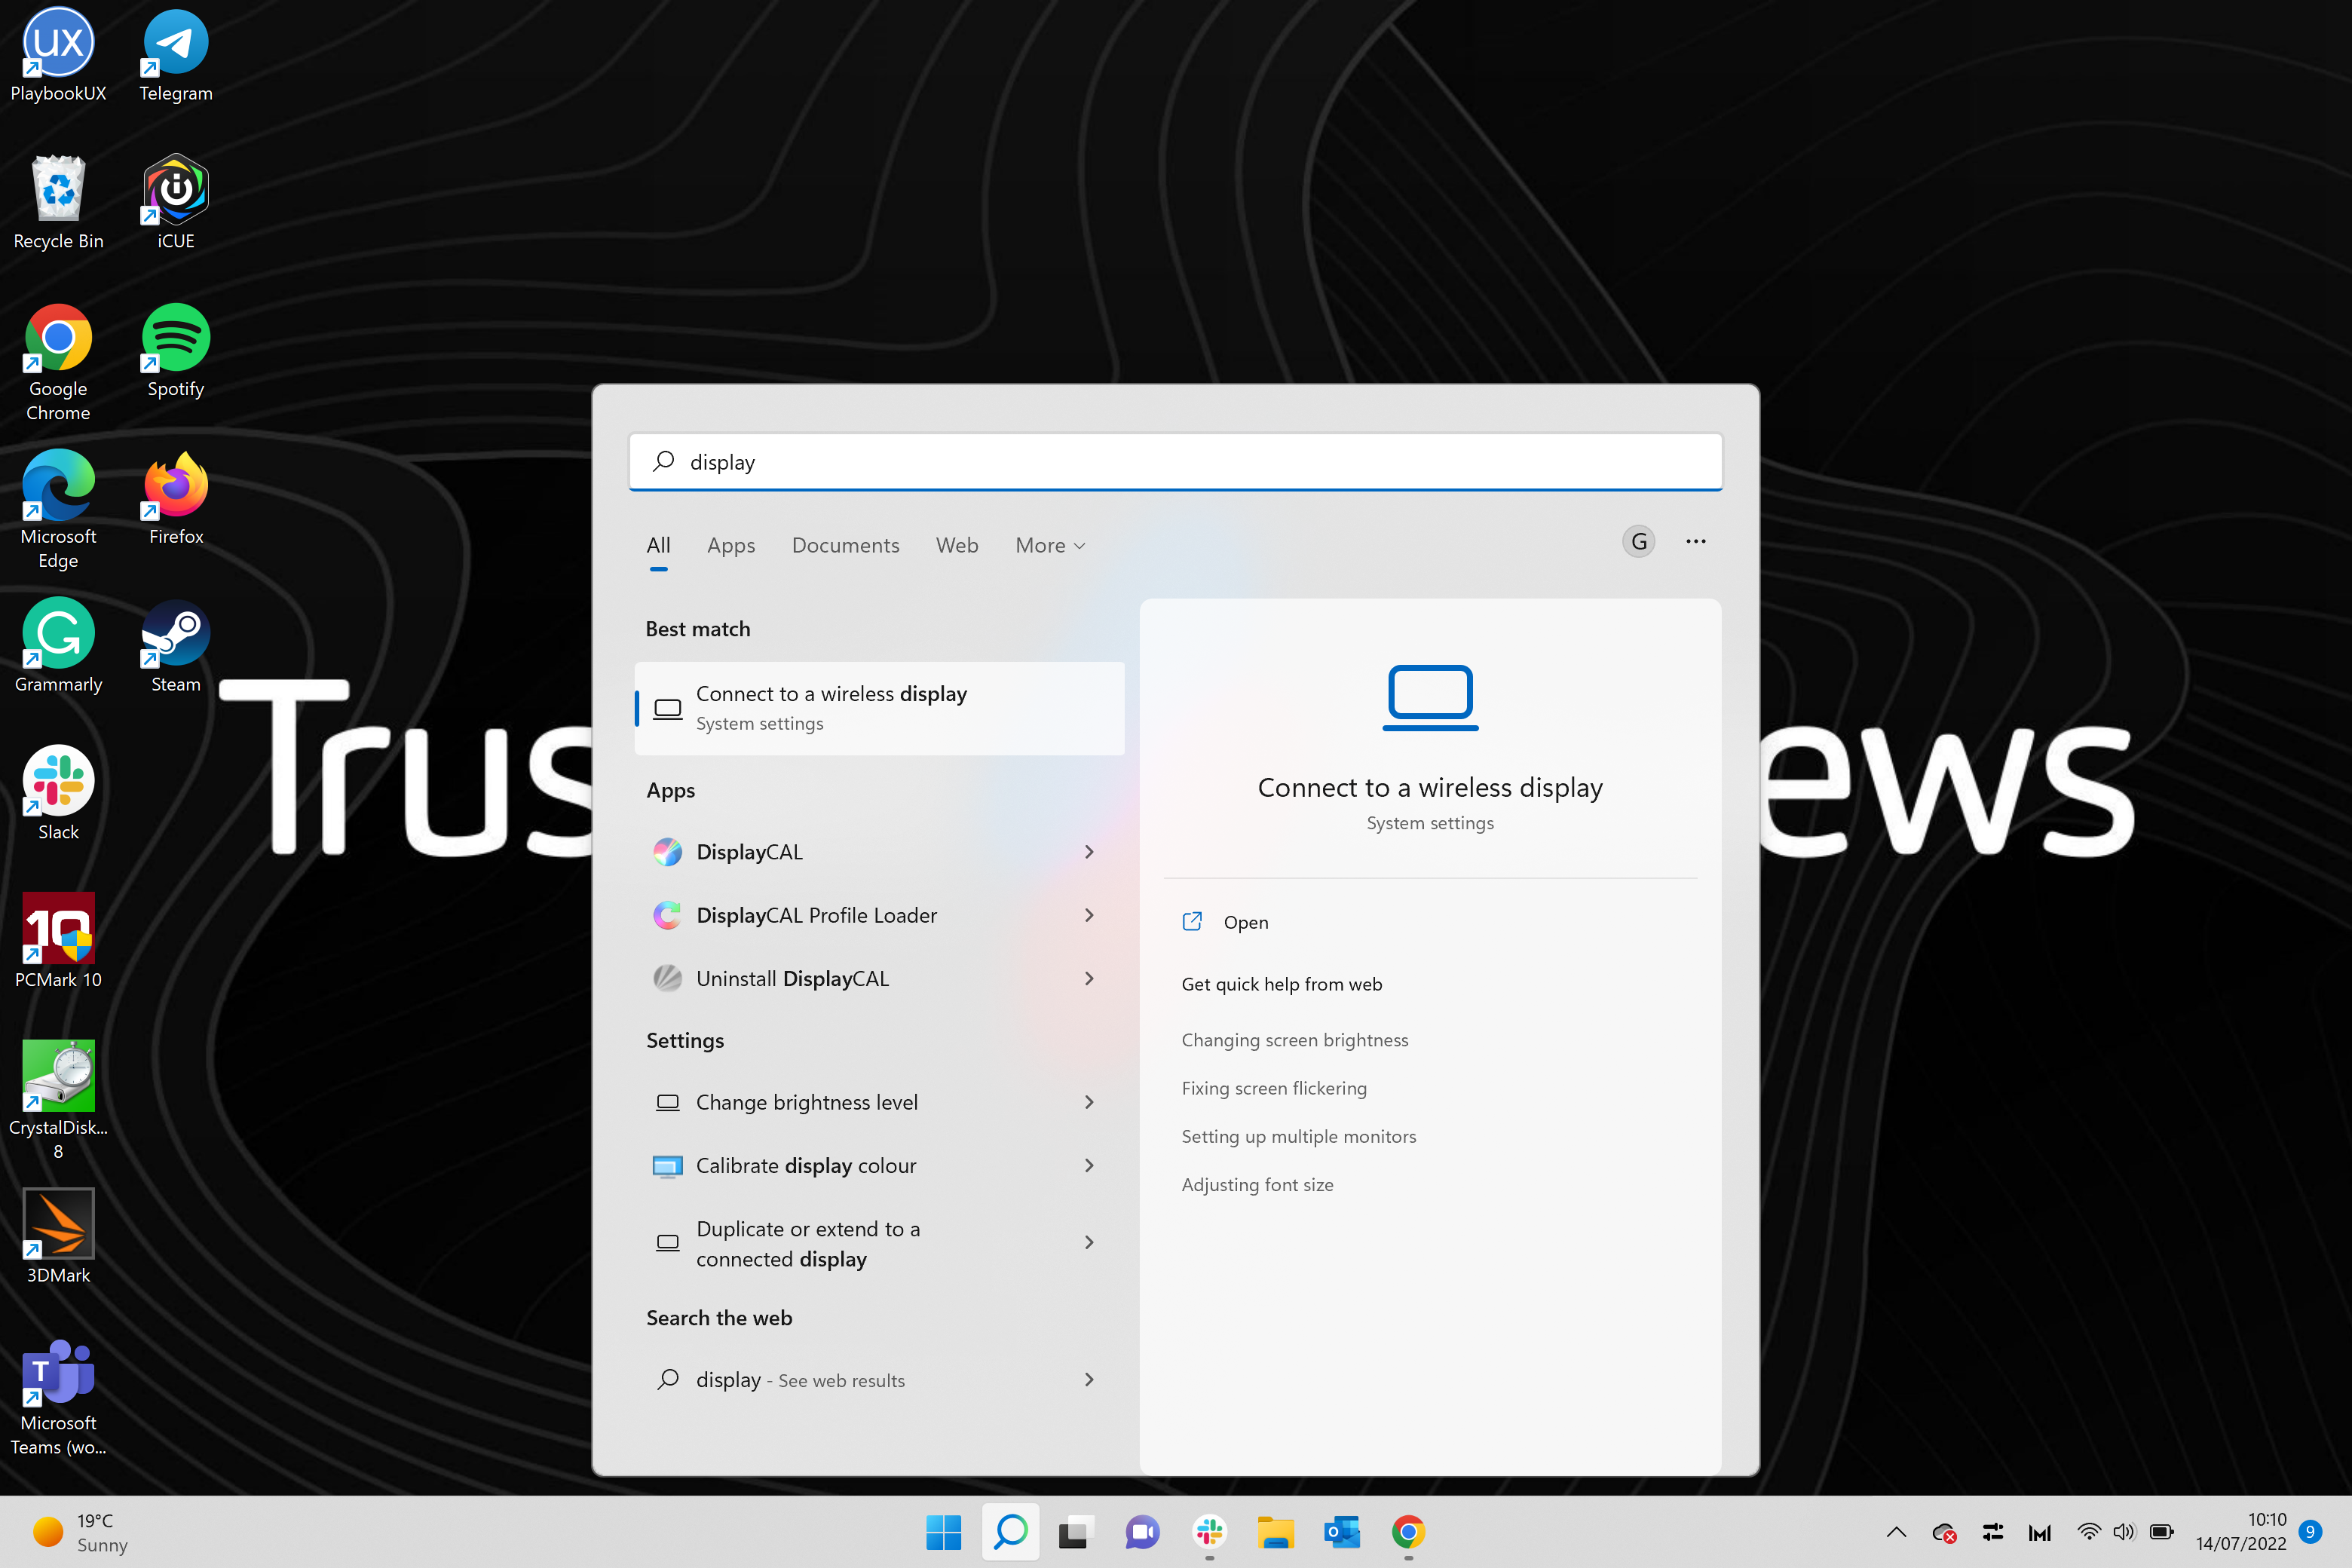
Type the word Display in the Windows search bar.
-
Step
5Click on “Duplicate or extend to linked screen”
Among all the available options, click on the button that says Duplicate or expand to linked screen. If you don’t see this option, you can click on general display settings and find the option there.
-
Step
6Click the “Duplicate these screens” button.

When you’re in your display settings, you should see a big blue box indicating that your displays are connected. If your display doesn’t show that your display is connected, you may need to go back to step one and two and check if your connection is working for your laptops.
If they are, click the button that says Duplicate these screens. Is it a gray box and it’s on the far right under the big blue box.
-
Step
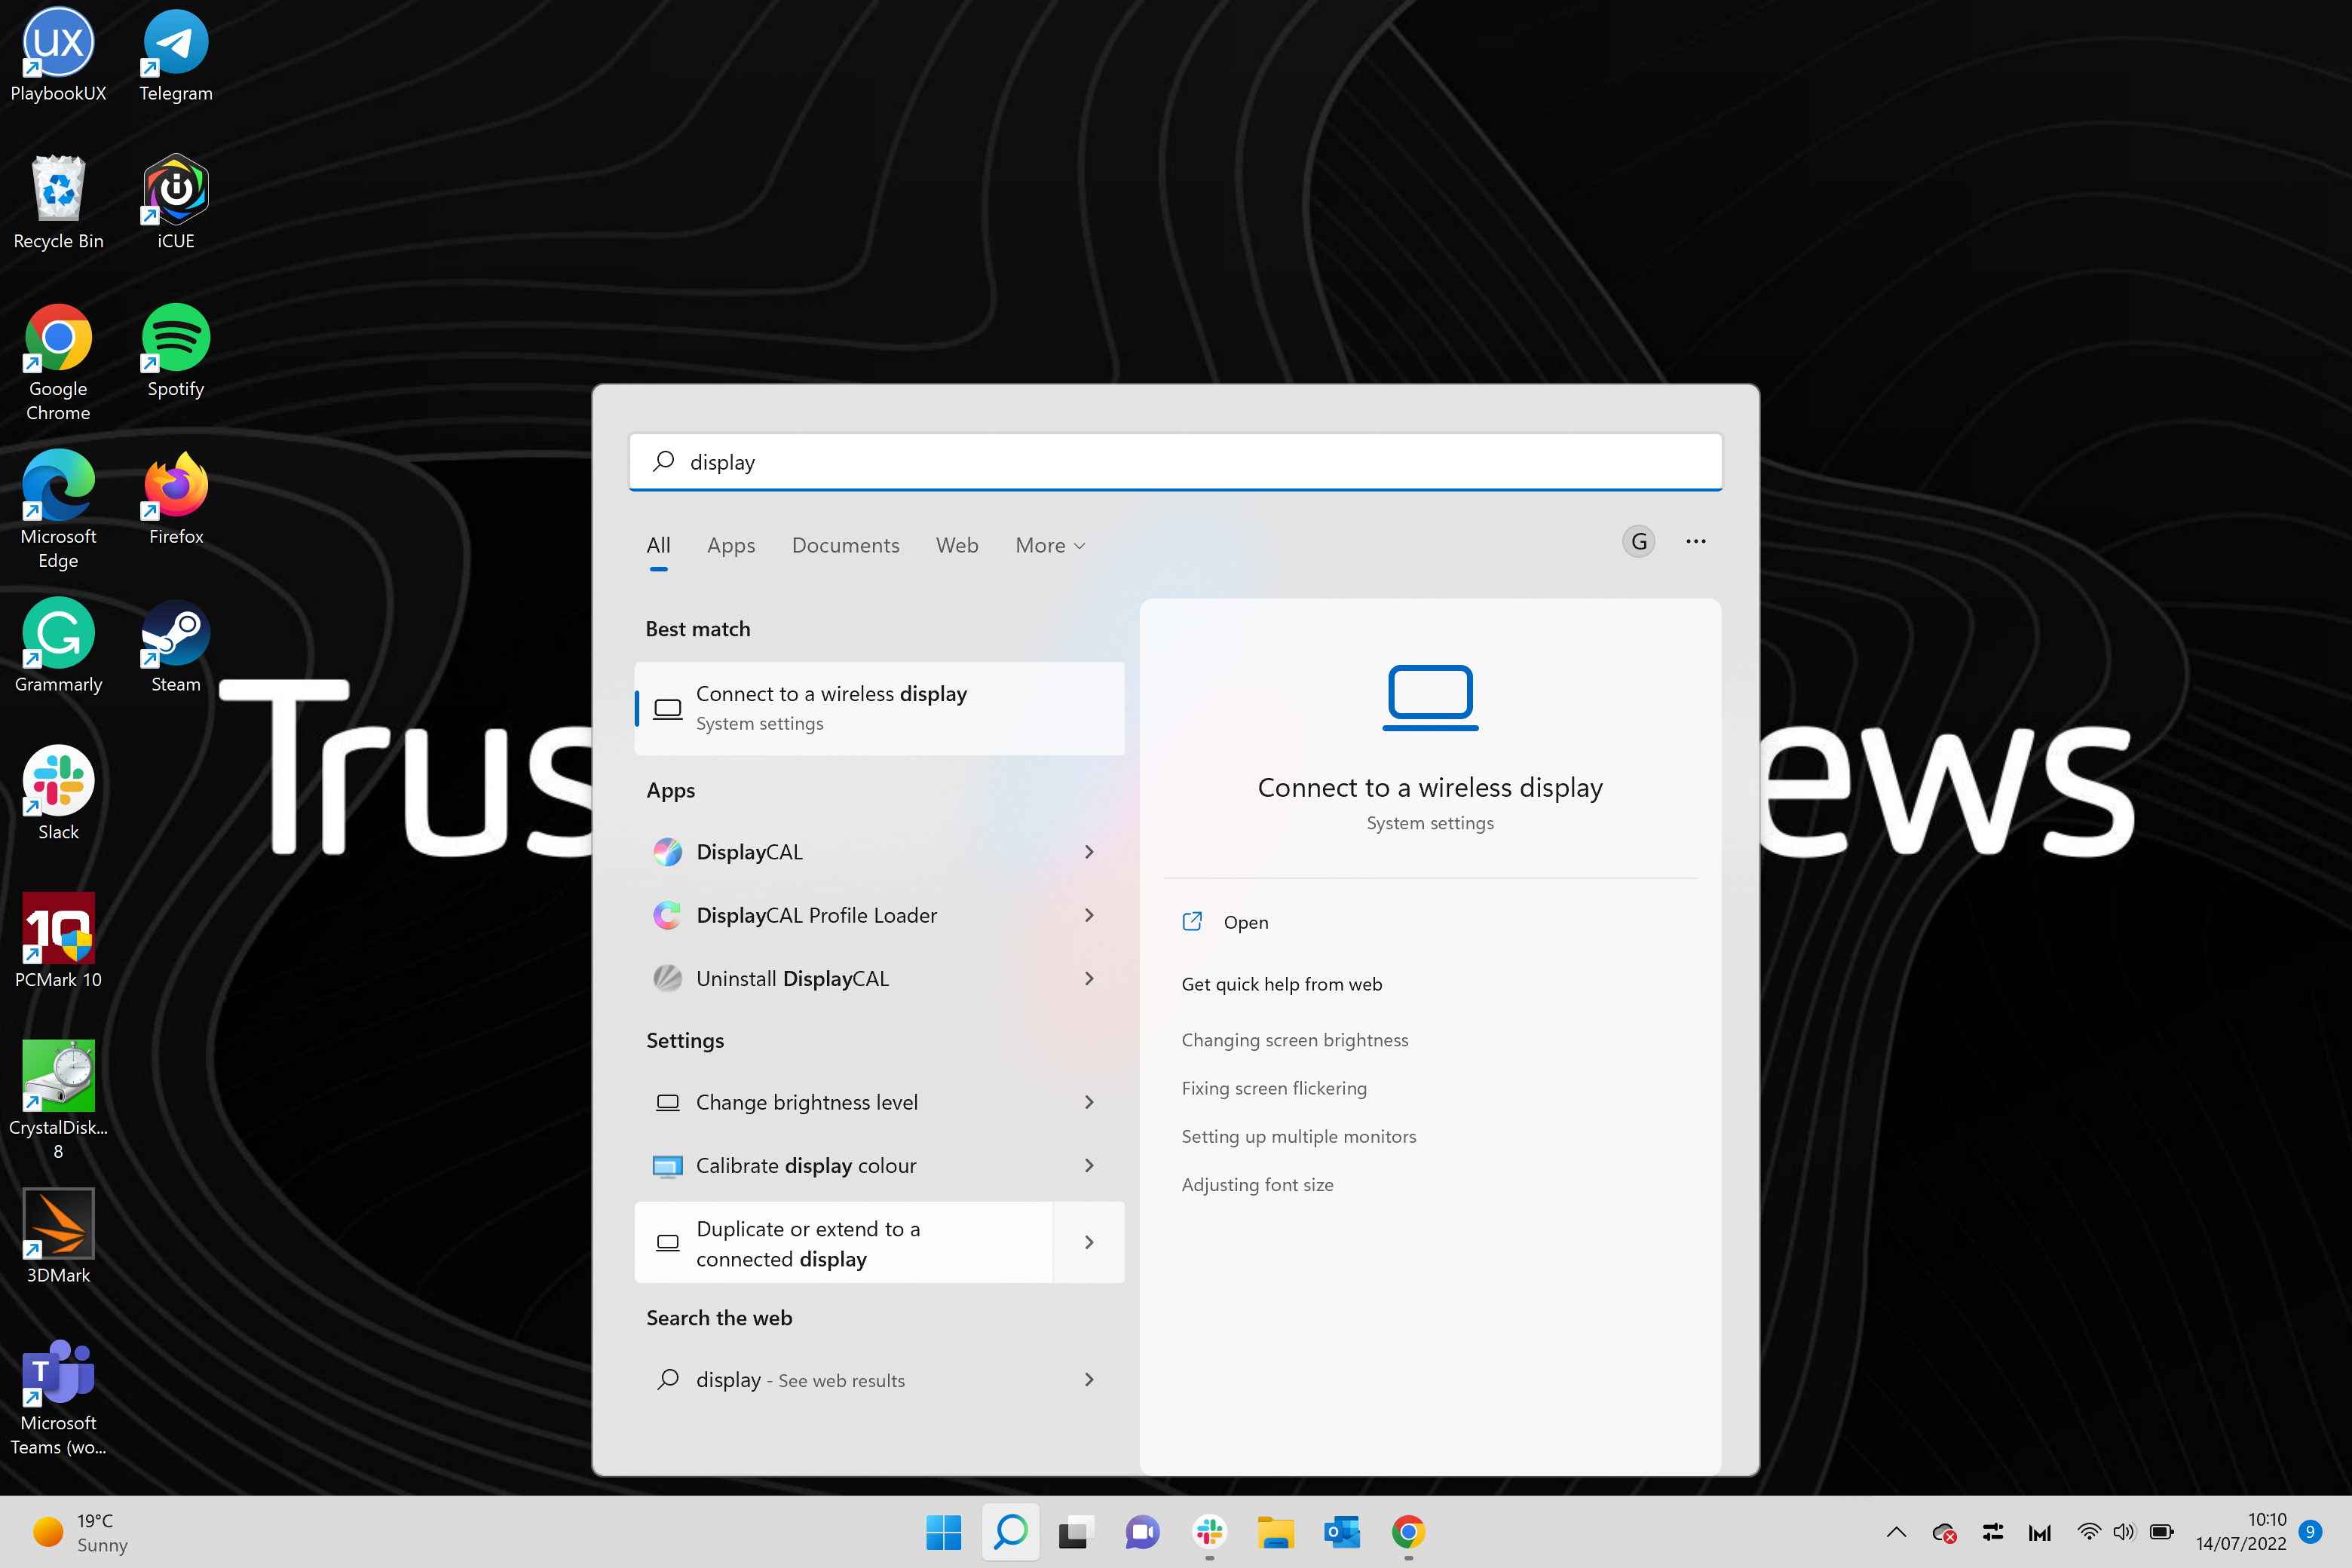
7Click Expand these views
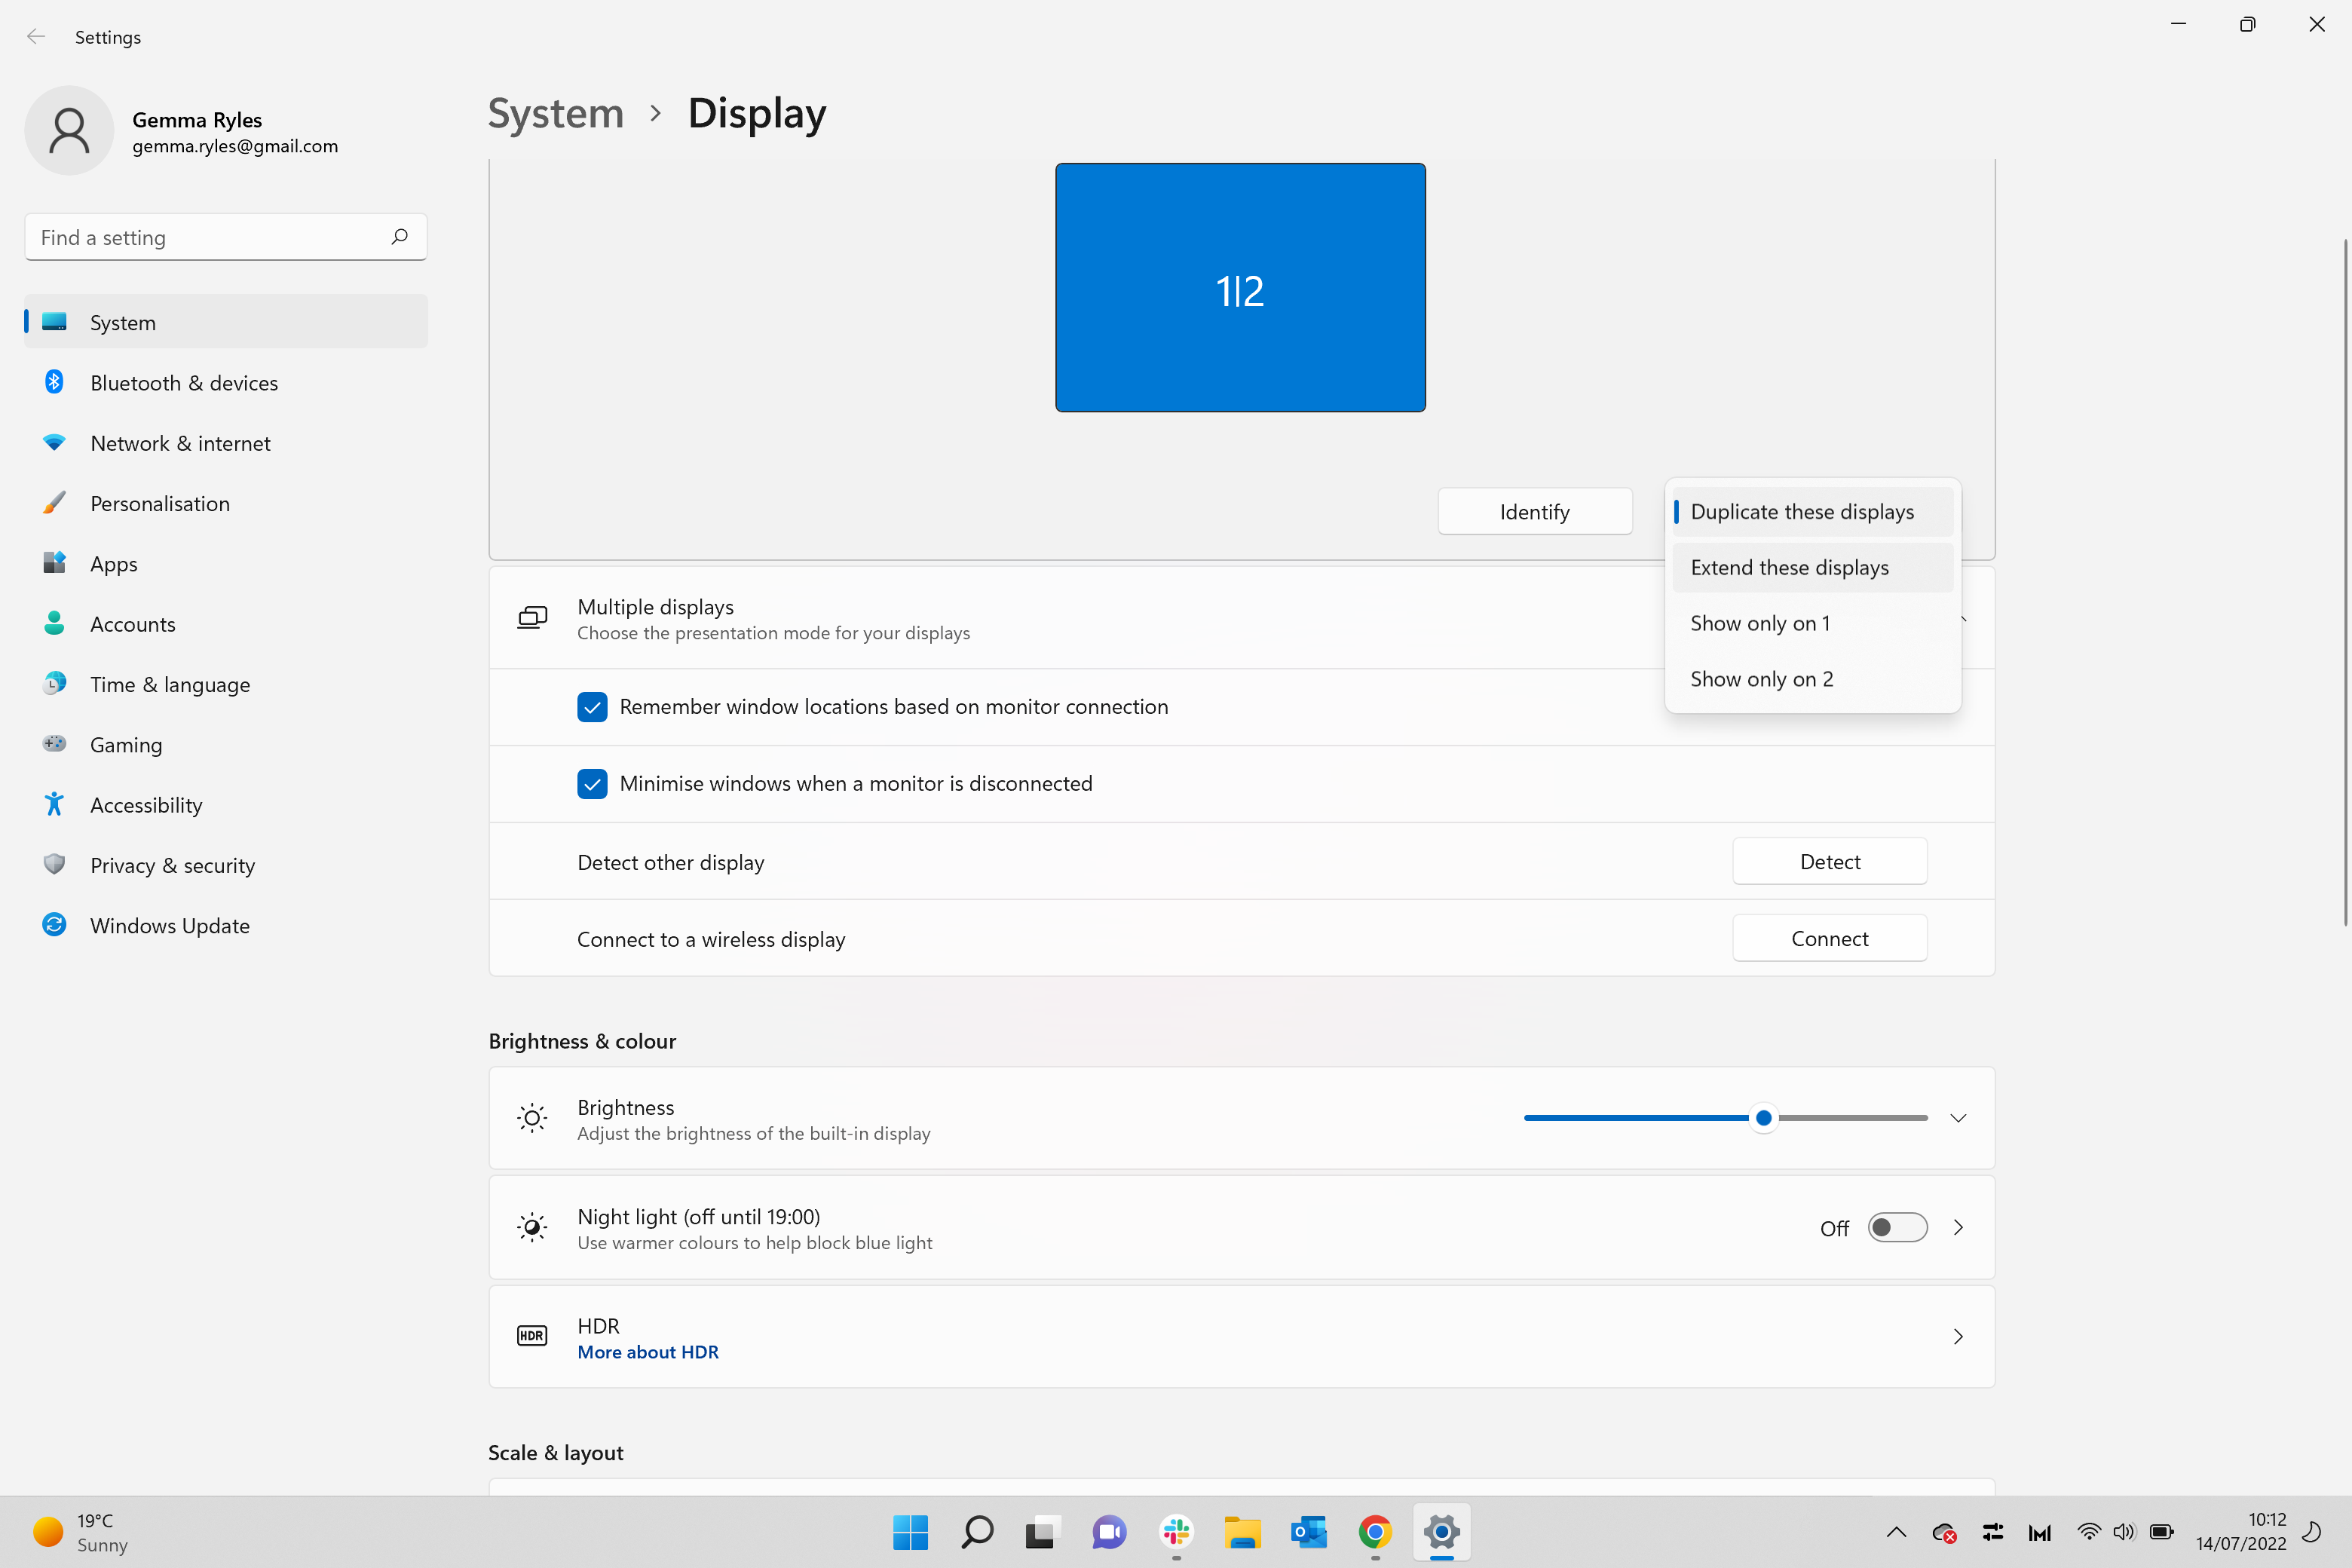
From the options shown in the drop-down menu, click on the option that says Expand these screens.
-
Step
8Click Save Changes
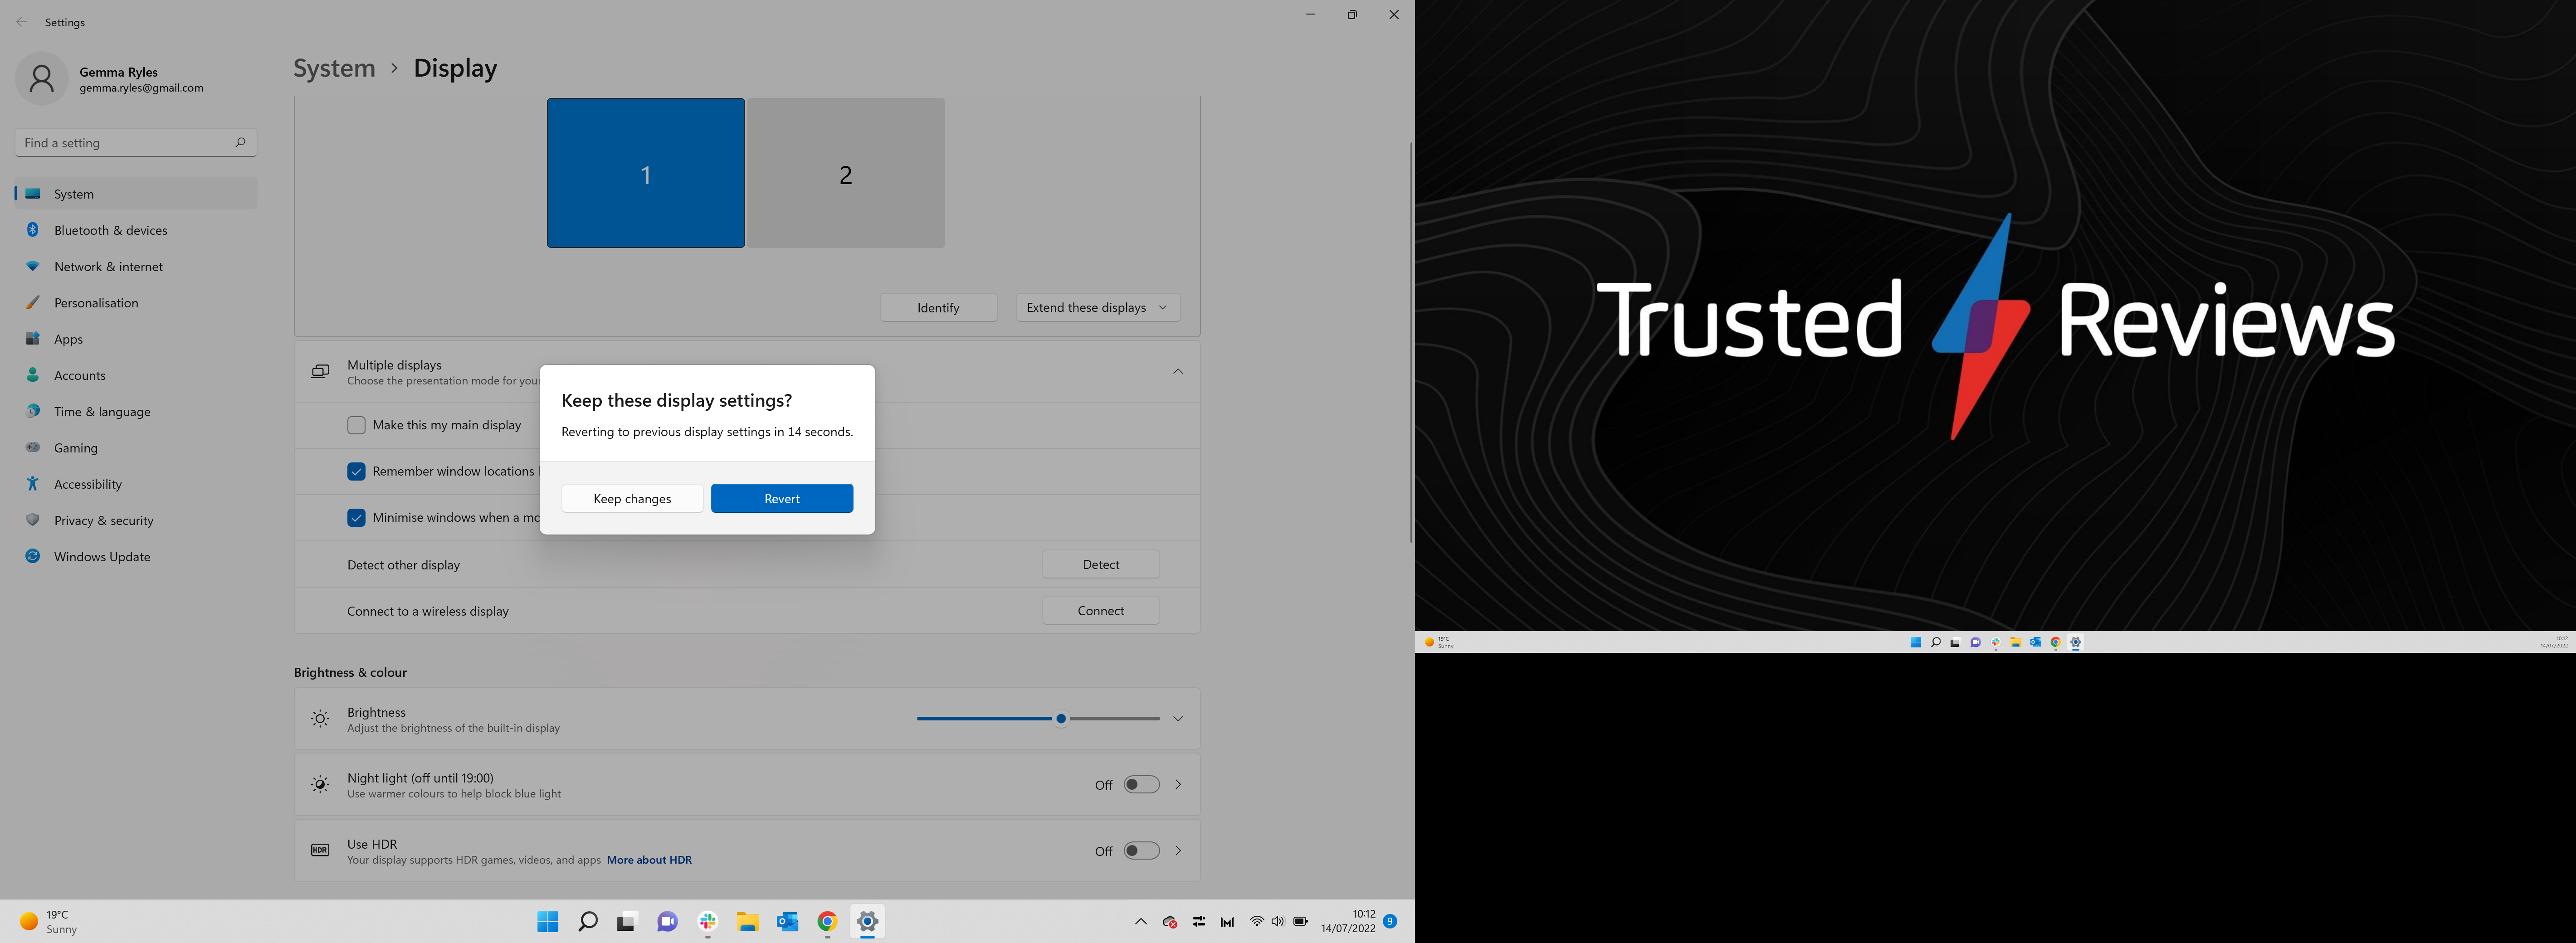
After clicking, your screen may go black for a second. A pop-up message will appear after it returns. Click on the option that says Keep Changes to keep the screens expanded.
FAQ
That. Some laptops can connect via HDMI or Bluetooth. It will depend on what laptops you have available, and it’s worth checking each method to see which works best for you.
You might like it…